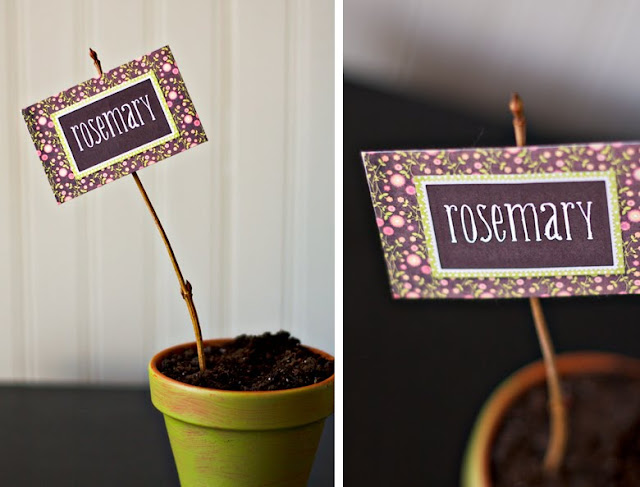
try creating these super easy markers using memorymixer.

here's a quick tutorial:

1. create your marker using a quickmix or from scratch. i made mine from scratch using these kits: sophie background kit, my little pumpkin embellishment kit. when you are all done, click print.

2. the print window will open. click on the 'advanced' button.

3. determine the size you want your marker to print. enter it in the 'custom size' box. i entered 3.00" x 2.00". make sure the 'crop image to fit area' selection is checked. click OK to print.

4. trim the marker, laminate if desired, and adhere to a small branch with hot glue or glue dots. stick in your pot and enjoy!


No comments:
Post a Comment