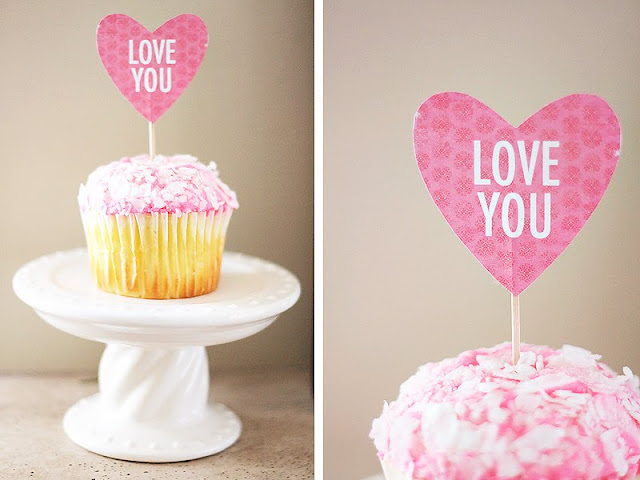
1. open a new blank page. click 'add photo box' located on the 'edit photo' menu on the sidebar.

2. select the shape you want your cupcake toppers to be. for this tutorial we are using the heart shape. click 'ok'. the shape will be inserted on your page. resize and duplicate if desired.

3. now it's time to fill the shape with a background paper. click 'paper' on the 'backgrounds' menu.

4. select the paper you want to use to fill your shape and click 'add as an additional background' then 'ok'

5. the paper square will appear on the center of the page. simply click on it and drag it to the desired shape. the shape will turn yellow when it is selected.

6. fill all the shapes with a background. add text or other embellishments if desired. print sheet, and cut out hearts.

7. adhere hearts to toothpicks and stick in cupcake. share with someone sweet!


Thank you so-o-o much for sharing! This technique will be used aplenty.
ReplyDeleteSooo cute! I will definitely be using this...for the cupcakes that I buy at my favorite bakery. lol
ReplyDeleteAdorable! Great idea! Thanks for the tutorial!
ReplyDeleteThank you sooo much. I was wondering how you could use paper backgrounds on shapes. I really appreciate this tutorial. I can't wait to make my cupcakes!
ReplyDeletefROM A NEWBIE: GREAT IDEA! HOW DO YOU ADD TEXT TO THE HEARTS?
ReplyDeleteI just finished this tutorial.. you answered a big question I had.. how to fill a photo or shape with a background already inside memory mixer! THANKS!!
ReplyDeleteNow I have another question??
Can you 'hide' an element/photo whatever.. like turning the eye off in photoshop.. know what I mean??
And sometimes getting the layers to go where I want them is driving me nuts.. click send backwards 25 times.. is there a faster way?
What version will this work with... I have 2 I am thinking that there is a new one becuse I cant figure out how to make this work.
ReplyDeletewowie! so sorry for the slow response. i didn't realize there were so many comments here! glad everyone like the tutorial....
ReplyDeleteanonymous: to add text simply click 'add text' from the 'titles and journaling' menu on the sidebar. type your text and position it over the heart. easy as that!
carissa: nope, no turning on and off...sorry
if you click 'arrange' from the top toolbar you will see an 'order' option. you will be able to send objects straight to the front or back that way. make sense?
anonymous: yes, there is a version 3! go to memorymixer.com to upgrade. enjoy!
thanks everybody!