
1. Create a new album from scratch or using a QuickMix. Design the first page, this will be the cover for the book.
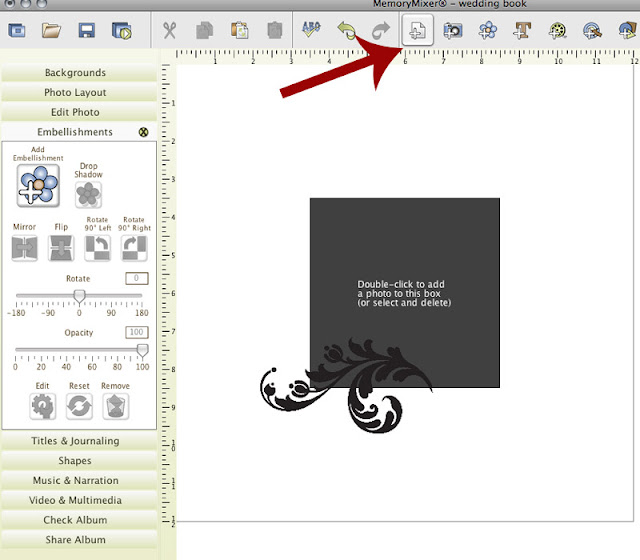
2. Add a new page to the album and design the page. This will be the title page of the book.
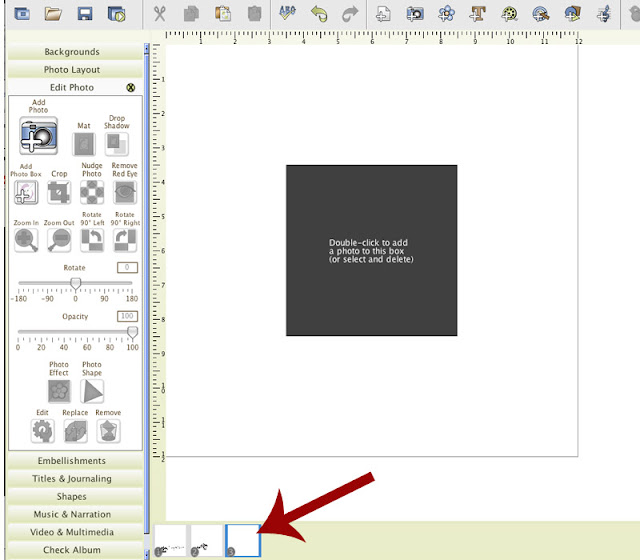
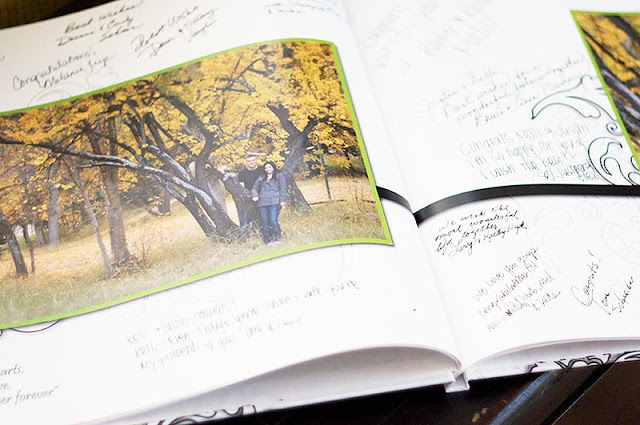
3. Add additional pages to the album. Add one photo per page. Leave plenty of space for guest's messages and signatures. Continue adding pages until your book as reached the desired page number. Your pages will be visible along the bottom of the screen. The last page will be the back cover of the book.
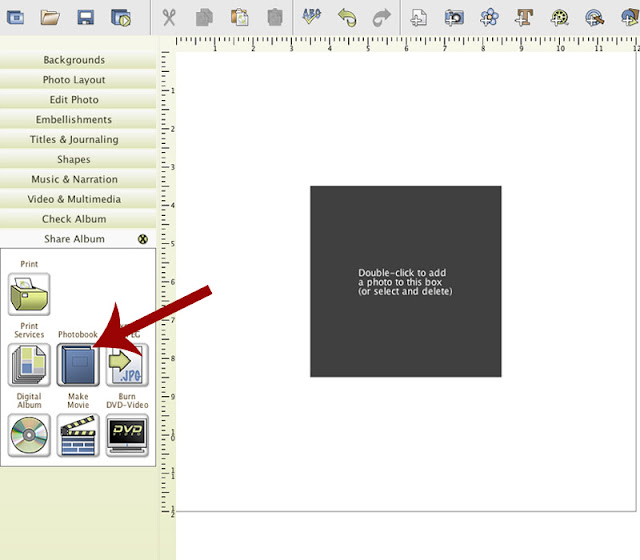
4. When your pages are complete, and your album is finished, open the 'share album' menu from the sidebar. Click the 'Photobook' icon. You will be walked through the uploading process, and your book will be shipped to you!
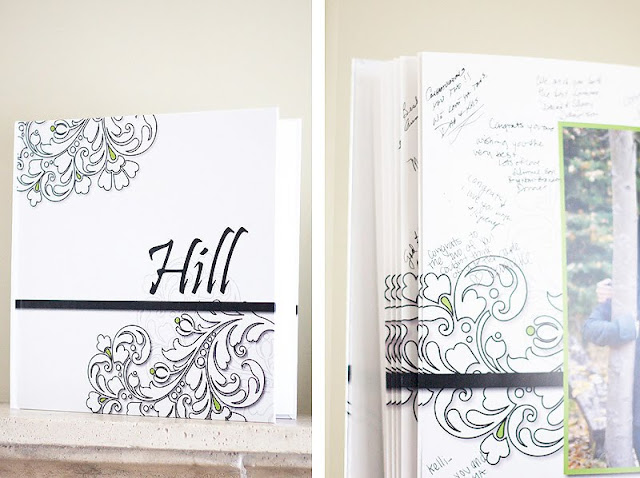


I love it so much!
ReplyDeleteThank you so much for the tutorial. I will be making one for my son's wedding this August (that is if I can get Memory Mixers to work with my mother board!)
ReplyDeleteI constantly emailed this blog post page to all my associates, as if like to read
ReplyDeleteit then my contacts will too.
My web-site ... augmenter vu youtube